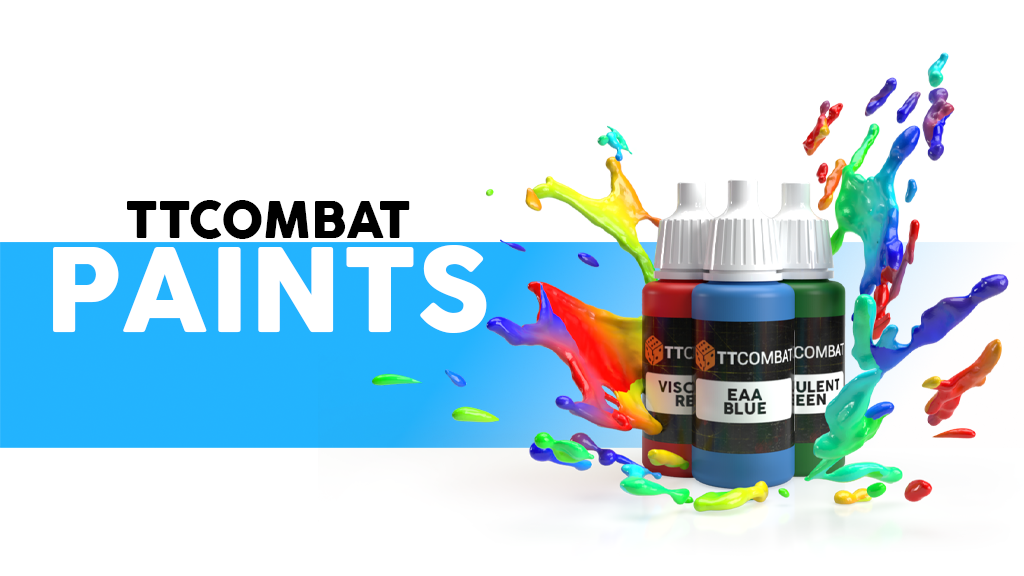
A new and exciting range of paints and washes developed from the ground up by our lead in house painter.
Latest Updates from Our Project:
Backerkit launch next week.
over 1 year ago
– Fri, Nov 18, 2022 at 05:01:13 AM
Hi everyone
Just a short update to say that we will be launching the backerkit next week!
The guys are still live on Twitch Monday - Thursday showing off the paints and chatting hobby. If you missed the streams from this week then you can still watch them again at the link.
Funded, thank you! What next?
over 1 year ago
– Thu, Nov 10, 2022 at 09:23:46 AM
Thank you all for backing the project to a position of almost 4 times our initial funding target. We didn't quite get to the 48k stretch goal unlock but seeing as this is a TTCombat kickstarter we are going to throw the extra free mini in for our Core Level backers anyway.
We are confident that when your pledge arrives you will enjoy this product and these paints and washes are just the start. We have plans for lots of additional colours aswell as airbrush ready paints, 'fast' paints and more!
Kickstarter will now begin collecting funds for release to us in 3 or so weeks time. We will be back with the first of regular weekly updates next Friday (18th) which will have a date for the backerkit launch. This is the pledge manager where you get to choose what your funding was for.
Thank you to the team who worked on the live streams and those who worked on the actual campaign and graphics. Special mention to CorvusCoraxM32 who moderated our live twitch stream and made that a lot easier for the guys to manage. Hero!
Thank YOU all again for your pledges. Back soon!
Dave Lewis paints a UCM Behemoth with TTC Paints.
over 1 year ago
– Wed, Nov 09, 2022 at 03:25:44 AM
Dave Lewis of Dropzone and Dropfleet commander fame painted up one of our UCM Behemoths using only TTCombat paints. He even wrote up a guide on how he did it :) Enjoy!
Just in time for me to paint my UCM Behemoth, I received a complete set of sample TT Combat paints!I couldn't keep them long as they'd be passing onto other, eager hands, so this would be a speed painting job. I'd been lucky enough to try these when I Twitch-streamed the painting of one of the tanks I'd sculpted for the Space Halfling kickstarter. I'd been impressed, but it was one morning and I didn't have the washes then. Not only would I be using these exciting new dropper bottle paints, I also had one of our spray cans and a full set of TT brushes—it felt righteous to use our complete hobby offering for the first time!
The UCM behemoth is certainly the most 'classic' of the bunch, and I felt it called for a gritty, desert scheme reminiscent of real, modern armoured vehicles—less than ideal to show off paints, though. I'd felt that their biggest strengths were effortless coverage and vibrancy, especially in the brighter colours. But this is my model, and showing off new paints using saturated colours is the obvious choice. Hopefully, this will offer you a different perspective. Obviously I work for TT, but I'll give you my honest impressions of the paints as I used them
I primed everything with TTC's Black Spectre spray primer, which gave a nice, even, dark coat.
Next, I packed everything up, including my airbrush and compressor, and got on the road—I'd be painting live for a day at the London Grand Tournament.
First order of business there was to do some airbrush pre-shading. This technique gives quick and instant definition to panelled areas, an effect you can't really achieve without an airbrush—if you don't have one, get one! The idea is to either start with a dark basecoat and spray all raised areas/patches in the centre of panels in white—as I did here—or starting white and spraying all the low-lying areas/ panel lines dark..
Next, I airbrushed a thin coat of the main armour base colour, Mummified Khaki, over the top. If you lay down too much, you obliterate your previous efforts and end up with a monotone. Care is needed with these paints here—they go through an airbrush at least as well as any other acrylics when mixed 50/50 with our airbrush thinner, but coverage is impressively opaque.
Next,I grabbed the largest brush and a pot of Crypt Bone and drybrushed everything. These are the best drybrushing paints I've used in 20+ years—they justkeep going, always staying smoothly'plastic',and never (at least with the ones I used) going chalky/gritty. Eventually, you just run out of colour and have to replenish the brush. Best results are to be had when the brush is near-paintless.This makes drybrushing a truly valid replacement for painstaking, hand-done highlighting without showing most of the gritty texture you're usually forced to accept as a trade-off for speed
Now for the main colours. First, I brush-painted/airbrushed all the bigmetal areas in Supernova Chrome—always start with the lightest metal and work down. This was a nice metallic with excellent coverage and no real vices, but I can't comment on the many other metallics in the range as this was the only one I used. I did try a splash of the gold for my tank Twitch stream, and found it to be the best gold I'd ever used.I find gold usually requires many coats/coaxing to get a good finish
The next stage in the metal areas was to shade them using Black Wash. This went on easily, dried predictably and wasn't too strong out of the bottle. I did one coat with no thinning—always nice not to have futz with temperamental washes! TT's range has twelve, but I only needed the black here. I'm looking forward to getting to grips with the rest
I picked out all the smallest metallic details in Supernova Chrome, went back over the raised areas I'd washed, and picked out some choice panels on the Mass Driver barrels for character.
I wanted to do decals, but we don't, yet, have any. So, I did a simple design on Word and printed it in various sizes. Ti stands for Titania, one of the UCM's biggest colonies, and V signifies their 5th Legion.Technically, behemoths are part of the Colonial Armoured Corps, not the Legions, but are attached during combat deployments. Anyway, I cut my chosen sizes out, stuck double-sided tape to their backs and carefully cut the letters out using a sharp scalpel. Next would be the first real test of the paint's adhesion properties:I lightly pressed the decal templates into place, airbrushed Black over them,gently peeled them off, and ta-da—no paint loss! You could do this freehand, but I find that the thinner layer you get from airbrushing makes the decal look more integrated, rather than obviously added on top.
Weathering powder is wonderful, terrible stuff. My previous brush with it was painting the Avenger—a twelve-foot-long Dropfleet vessel in Dropzone scale, for those who don't know—and it quickly achieved the sort of results that normally take forever, essential due to the Avenger'senormity. While I loved the look, I did not enjoy the way it gets into every cranny in your skin, lines your nostrils black and—in extreme cases, such as mine—turns one into a Victorian chimney sweep. USE OUTSIDE, otherwise you'll be wiping the stuff off every surface for months. TT doesn't yet make weathering powders, so this was an old pot of black that I'd used back in the Avenger days. It survives like bubonic plague, so no worries.To use, get a big bush and thoroughly dab it all over the part. Next, rub off as much of it as looks right using a sponge/kitchen cloth/a big lump of blu-tac/fingertips. Here, I hit my first real snag: I couldn't get the base colour all the way back on the raised areas. My use of an airbrush had created a microtexture that the weathering powder stuckto like warts on a witch. The Avenger's panels had been straight out of a spray can, which tends to dry super-smooth. Anyway, in the end I had to really rub the parts with the pads of my thumbs, which remove weathering powder better than anything short of sandpaper, and made some progress at the cost of raw thumbs. Impressively, despite the abuse, almost no paint came off,but the whole model ended up a bit darker than I'd wanted. I might have been better served giving everything a coat of spray can/ brush-painted varnish first. Anyway, after application you need to airbrush/ spray a layer of varnish over the part to fix the remaining weathering powder—before this, avoid windsetc or the powder will come out of the recesses and take revenge.I used a 50/50 mix of gloss and matte varnish followed up with a light coat of 100% matte in the areas I thought were too shiny
Next, I did a bit of traditional hard-edge highlighting on the most prominent leading edges, re-highlighted the raised metal areas chrome and painted the wires Vicera Red.I painted the optics invarious blue-purple shades using the usual 'gemstone technique', and painted the lights in, appropriately, Spotlight Yellowwith a White pre-coat. I realised I'd missed a few with the White then discovered I could have done without it—Spotlight Yellow really covers! It doesn't end up a horrible greenish colour when laid over a dark base. Last, I painted the missile warheads with various coloured bands and a layered green colour overall to mimic some real munitions I'd seen
This model along with the other Behemoths I painted in previous guides is now on show in our Bromley store.
Until next time, gamers.
Dave
300 Backer Unlock, Bromley & Squiggles Studio
over 1 year ago
– Mon, Nov 07, 2022 at 09:47:07 AM
For todays update we're headed to our retail store in Bromley.
Every Wednesday we have a painting evening which is run by Mike Anthony of Squiggles Studio with a focus on promoting positive mental health through hobbying.
This week we let Mike and his group loose on our paints and here is what Mike himself had to say.
"First off, a great variety in colours, vibrant and nicely pigmented to give a solid coat. Blending is an important part of my style of painting and I had no issues creating smooth transitions even when thinned down. I really enjoyed using some of the brighter greens and yellows for the blends and as skin is one of my favourite things to paint I had to give them a go. There was definitely a good depth of paints for skin which I like as it supports painters exploring more varied skin tones and ethnicities. I can be quite brutal within my thinning for shadows but I found the paint able to take it and still keep its pigmentation. The bottle size is good and a good choice of nozzle being thin giving you a bit more control over how much you put on your pallet. All in all a really solid set of paints that will definitely be useful to painters of all levels.
Here are some of the minis Mike painted!
Feedback from everyone included below
“The colours are really vibrant and bright, I love it!”
“The washes are easy to apply and bring out a lot of detail”
“They match the primers really well, which is appreciated”
“Colours are surprisingly consistent regardless of how thin or thick the layer is”
“The bottle is clear and allows you to see the actual colour rather than a representative of the colour”
“The thin nozzle is good”
“Good range of colours available”
“The washes are very effective”
“Silvers and Golds do exactly what you need them to do”
Our thanks to Mike and all who attend each week. You can find more info on these sessions here
SOCIAL GOAL UNLOCKED
In other news we hit 300 backers and unlocked a great stretch goal for all starter set and core level backers!
Hopefully we can get a couple more of the funding stretch goals downed before the end of the campaign. We've got an update from Dave Lewis tomorrow on how he painted his UCM Behemoth with TTC paints. Then on Sunday we finish with a 24 hour twitch stream running until the close of the project on Monday. Have a great weekend everyone!
Thursday - Using Thinning Medium with our Paints
over 1 year ago
– Sun, Nov 06, 2022 at 02:43:55 AM
At the time of posting there are only 10 more backers required for us to take down the social stretch goal. If we get to 300 then a 17ml thinning medium will be included with all starter set and core pledges! While you can thin our paints with water we recommend using this handy little product.